How to Make a Simple Wooden Peg Rail
Make a simple wooden peg rail by planning peg spacing, shaping the board, drilling clean holes, and choosing a finish suited to its use.
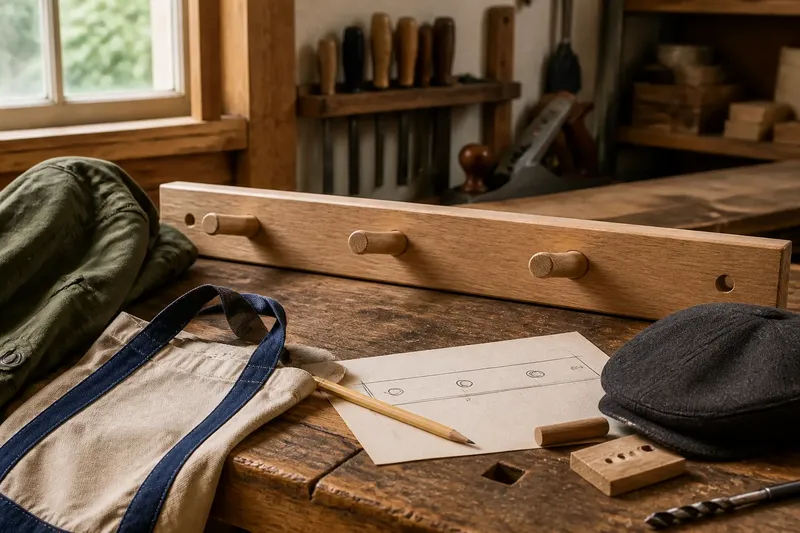
A wooden peg rail is easiest to make when its board, peg layout, and wall location are planned together. For a small woodworking project, that means choosing a clear use first, then shaping a rail to fit the objects and space rather than copying a decorative profile.
Plan the rail around the objects it will hold
Write down the items you expect to hang, such as a light coat, fabric bag, or apron. Note which are bulky, which need to be lifted off sideways, and whether their bottoms would strike a bench or furniture below. This list guides the rail’s length, peg spacing, and placement.
Use a straight, sound board without loose knots where the pegs or wall fasteners will go. A stable hardwood or softwood can work; choose stock that suits your tools and the room. Avoid splits, severe warping, and knots that weaken a planned joint.
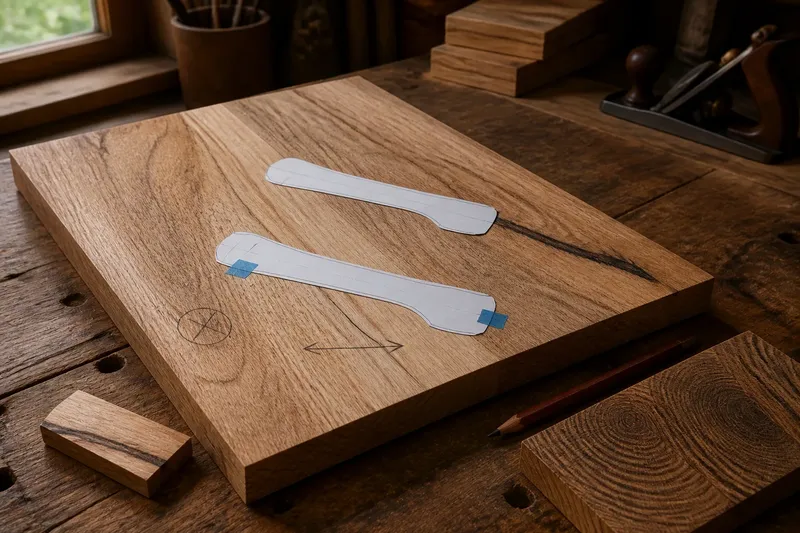
Lay out the board on a bench and mark the ends, peg centers, and mounting points. Keep peg centers away from board ends and from mounting holes so drilling does not leave narrow, fragile sections. Check the layout with the actual items: hold them against the board or use their outlines to see whether neighboring objects will crowd one another.
Choose a peg joint that matches your tools
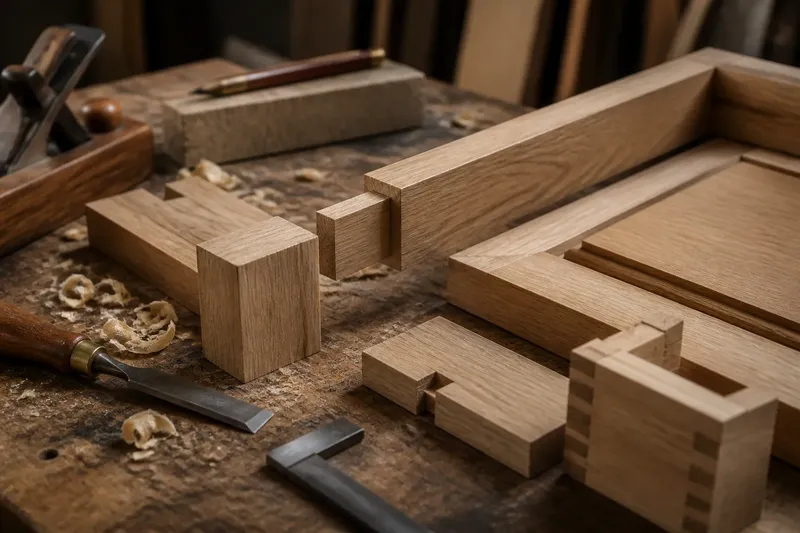
For a straightforward rail, use turned or dowel pegs fitted into drilled holes. Match the bit to the peg diameter and test the fit in scrap from the same board. The peg should enter firmly without forcing the wood apart; a loose fit needs adjustment before glue is involved.
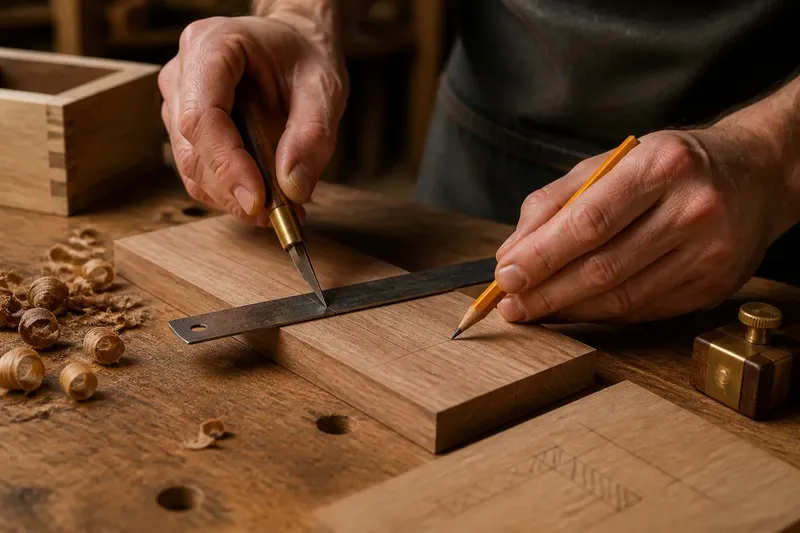
A drill press makes it easier to keep holes square to the board, while a hand drill can work with a guide block and careful alignment. Clamp the board securely, mark each center with an awl, and drill to a consistent depth. A depth stop or a tape flag on the bit helps you avoid drilling through the face.
Ease the exposed edges of the board and pegs with sandpaper or a small block plane. Remove sharp corners, but do not round the peg shoulders so much that the fit becomes loose. Brush away dust before applying glue or finish.
Make the rail in a controlled sequence
- Cut the board to the planned length and check it against the intended wall location.
- Mark peg centers and mounting points, then confirm that the marks do not overlap or crowd the ends.
- Clamp the board and drill the peg holes to a consistent depth, using a scrap test to confirm the fit.
- Dry-fit every peg. If one rocks or needs excessive force, adjust the hole or peg before assembly.
- Apply a modest amount of suitable wood glue to each joint, seat the pegs, and wipe away squeeze-out.
- Let the assembly set according to the adhesive maker’s directions, then sand and finish the rail.
Imagine you have a board intended for a small entry and three items to hang: a light coat, a fabric bag, and a hat. You mark three peg centers, then hold the items against the layout. The bag’s handle would overlap the coat, so you shift the outer peg farther away and check again. The revised arrangement leaves the items clear of one another; the practical tradeoff is a slightly longer rail. These values and objects are invented for the example, not measured specifications.
Check the layout before cutting or drilling
- Check the board for cracks or loose knots at each peg and mounting location; if any cross a planned joint, move the layout or choose sound stock.
- Check each peg center against the board ends; if the remaining wood looks narrow, shift the center inward or use a longer board.
- Check the actual hanging items against one another; if they collide, widen the spacing or reduce the number of pegs.
- Check the dry fit of each peg in a scrap test; if it rocks, refine the fit, and if it splits the scrap, enlarge or adjust the hole before assembly.
- Check the drilled holes for consistent depth; if a hole is too deep, shorten the peg or remake the board before glue-up.
- Check the finish on a hidden scrap; if it darkens the wood more than you want, choose a different finish or leave the wood unfinished.
Choose a finish that suits the room
A clear finish can reduce surface staining and make the grain easier to wipe, while paint can give the rail a solid color and conceal differences between board and pegs. An oil finish keeps the grain prominent but may need more care than a film finish. Follow the product label for surface preparation, application, ventilation, and curing.
Test the finish on an offcut before coating the rail. Wood species and grain can respond differently, and a sample lets you see the color and sheen without committing the whole piece. Keep finish out of peg holes if it could make assembly difficult, and avoid coating the rail until glue has cured as directed.
Mount the rail with the wall in mind
Locate suitable wall support before installation. Wall construction and fasteners vary, so follow the fastener manufacturer’s instructions and use hardware appropriate to the wall and intended load. Do not rely on a rail’s appearance or the size of its board to judge what the wall can hold.
Before drilling, check for wiring, plumbing, switches, doors, and furniture that could interfere with the rail or its contents. If you are unsure about the wall material, hidden services, or safe mounting method, consult a qualified professional. Keep the rail unloaded until installation is complete and the fixings have been checked.
What should you decide before making a peg rail?
Which wood should you use?
Choose straight, sound stock that you can drill cleanly with your available tools. If the board has cracks or loose knots where a joint or fastener must go, select another board or revise the layout.
Should pegs be round dowels or shaped pieces?
Round dowels are simple to source and fit with a matching bit, while shaped pegs can add a more personal profile but require more careful shaping. Choose the form you can make consistently and fit securely.
How do you keep the holes aligned?
Mark each center with an awl, clamp the board, and use a drill press or guide block to control the bit. A scrap test helps reveal a poor fit or angled hole before the finished board is damaged.
What finish is suitable for a household rail?
Pick a finish based on the desired appearance and the room’s use, then test it on scrap. Follow its label and allow the stated curing time before putting the rail into service.
Build accuracy into the simple form
A peg rail has few parts, so small errors remain visible: uneven holes, loose joints, or rough edges can distract from the wood itself. Treat the layout like a row of marks on a ruler; each one is easier to judge because it sits beside the next.
For a useful wooden peg rail, the best decisions happen before assembly: choose sound stock, check spacing against the intended objects, and test each joint in scrap. Those checks make the final piece easier to use and easier to repair if a peg or finish later needs attention.