Why a Tight-Fitting Joint Is Not Always a Better Joint
A tight-fitting wood joint can bind, split or sit out of square. Learn how to judge fit, alignment and joint type before glue-up.
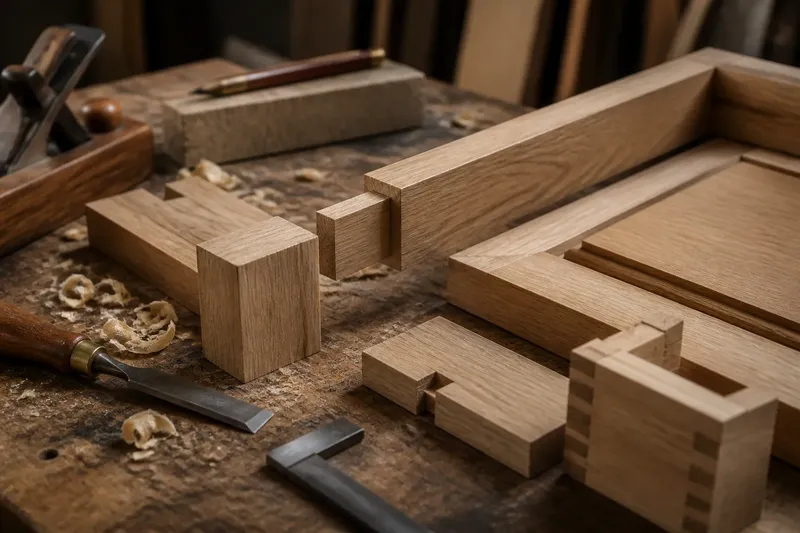
A tight-fitting wood joint can still be a poor joint if it binds before the parts reach their intended position. For a clean assembly, judge the fit alongside alignment and the needs of the joint itself; pressure alone does not tell you whether the pieces are ready to join.
1. Let the joint type set the fit
Different joints need different kinds of contact. A small mortise-and-tenon joint should engage firmly enough to keep its parts aligned, but a tenon wedged into an undersized mortise may force the surrounding wood apart. A housed joint, such as a shelf seated in a dado, needs its shoulders to meet the workpiece cleanly; a tight groove is no help if the shelf cannot settle fully into it.
Consider what the joint is meant to do. A shoulder can register the parts and provide a neat visible edge. A long glue surface can contribute to the bond. A loose decorative joint may depend more on accurate placement than on a forceful press fit. Match the fit to those functions instead of using the same standard for every connection.
2. Check whether the parts reach their reference faces
A joint can feel snug while its pieces are misaligned. The tenon may be gripping one wall of a mortise before the shoulders touch, or a tongue may be caught at the entrance to its groove. If you keep pressing, the joint may close crookedly or stop short of its intended depth.
Dry-fit the parts and watch the surfaces that should meet. Use a square to check whether adjoining faces sit at the intended angle, and look across the shoulders for a gap. On a small assembly, a straightedge can reveal whether a rail, shelf or frame member has shifted out of plane.
Say you are fitting a short rail between two small blocks, and the tenon catches halfway in. If the shoulder remains visibly open and the rail sits at an angle, stop rather than forcing it. A light pass with a sharp chisel on the marked high spot may let the rail reach its shoulder; the expected result is a seated joint with square faces, not a tighter bind.
3. Treat pressure as information, not a target
Hand pressure gives useful feedback. A joint that slides together with slight resistance and comes apart without damage may be ready for glue, depending on its design. A joint that needs a mallet, clamp or body weight just to enter deserves another look. Pressure can hide a fit problem by compressing fibers, bending a thin part or driving the assembly out of alignment.
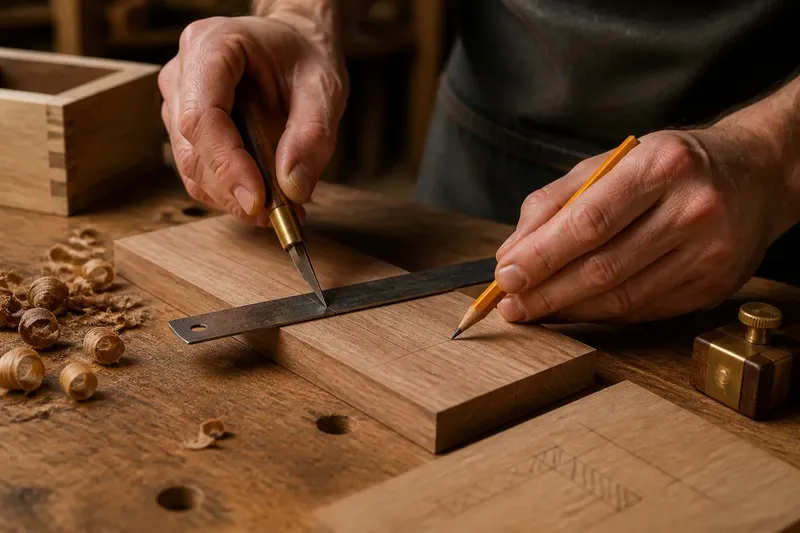
Before adding force, inspect for a specific obstruction: a raised fiber, a small chip, a burr left by a saw, or a surface that is not square. A marking knife and chisel can help identify and pare a local high spot; a shoulder plane can refine a broad shoulder when the tool and workpiece suit each other. Remove only what prevents the intended faces from meeting. Do not chase a loose fit by cutting away material without checking where the interference occurs.
4. Give glue space to escape
Glue adds thickness between surfaces. In a close-fitting socket, a tenon can act like a piston: as it enters, glue has little room to move, and trapped adhesive may keep the shoulder from closing. Forcing the parts can squeeze glue away from some areas while leaving the joint short of its seat.
Use a restrained amount of adhesive and spread it where the joint design calls for it. If the fit is very close, a small relief path or a slight reduction at a noncritical hidden area may give excess glue somewhere to go. Keep visible shoulders and locating faces intact. Follow the adhesive maker’s directions for application and assembly; the right approach depends on the product and joint.
5. Allow for wood movement where the joint needs it
Wood changes dimension as its moisture content changes, most noticeably across the grain. A joint that locks every direction of movement can put stress into a panel or frame. In a frame-and-panel door, for instance, the panel is commonly held in its grooves while retaining room to expand and contract across its width. Making that panel immovably tight can lead to a raised panel, a stressed frame or a split component.
Think of a solid wood panel like a book resting in a snug shelf space: it needs enough room to shift without being pinned. The useful fit is one that keeps the panel located while respecting its movement. Choose the joint layout and clearance for the grain orientation, and avoid gluing a floating panel into its frame unless the design specifically calls for it.
6. Separate a tight fit from a strong fit
Tightness describes how closely parts meet or how much force it takes to assemble them. Strength depends on more than that sensation: the joint’s shape, the amount and direction of contact, sound wood, and the way loads reach the parts all matter. A narrow, over-tight tenon may split its surrounding rail, while a properly proportioned joint with clean shoulders can stay aligned without being forced together.
Look for full contact at the faces intended to register, consistent engagement where the joint is designed to transfer load, and parts that remain in position without distorting. If a joint relies on a pin, wedge or mechanical fastener, check that feature on its own terms rather than treating friction as the whole connection.
Which fit questions should you ask before glue-up?
Should the joint slide together by hand?
Many small woodworking joints should assemble with controlled hand pressure, but the intended fit varies by type and design. If entry requires force or the parts stop before their reference faces meet, inspect the cause before proceeding.
What if the joint feels loose?
First check whether the looseness is at the intended contact surfaces or comes from inaccurate shoulders, a tapered cut or a misplaced part. A joint that is visibly loose may need a careful correction or remaking, not extra glue as a substitute for fit.
Can I use a mallet to seat a joint?
A light tap can help a suitable joint reach its seat, but repeated hard blows can bruise fibers or split a part. Stop if the joint resists or begins to move out of square, then find the point of interference.
How should I judge the fit of a wood joint?
Check whether the parts reach their reference faces, remain aligned and suit the movement and function of that joint type. For a tight-fitting wood joint, a clean seat without distortion is a more useful goal than maximum resistance.
Before applying glue, assemble the parts once without it and look at the shoulders, alignment and any space needed for movement or adhesive. If those details are right, the joint does not need to feel like a press that might never release; it needs to fit the job without forcing the wood to fight its own shape.