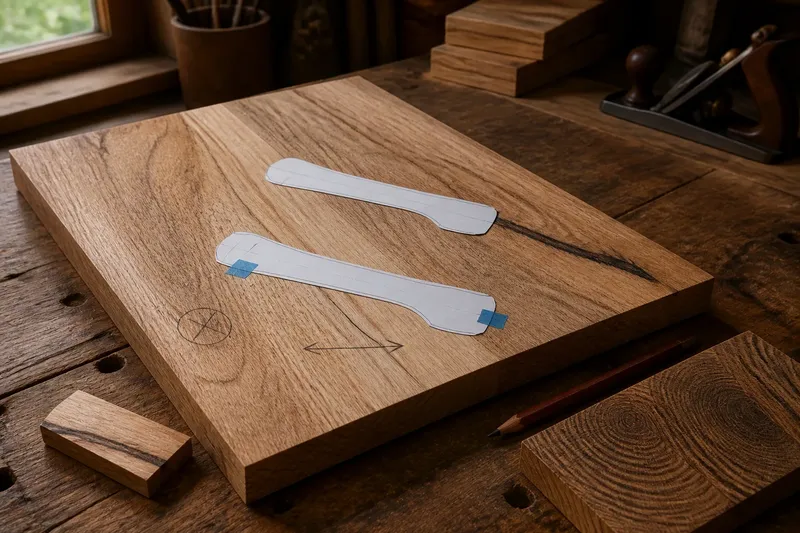
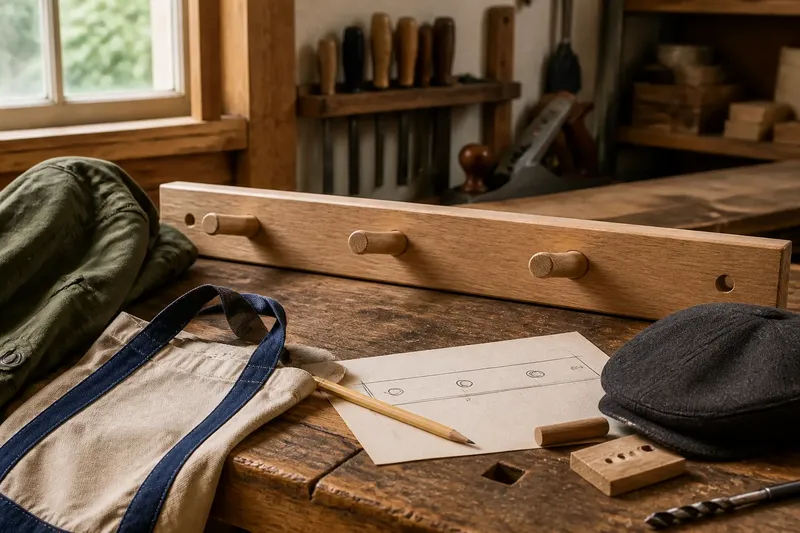
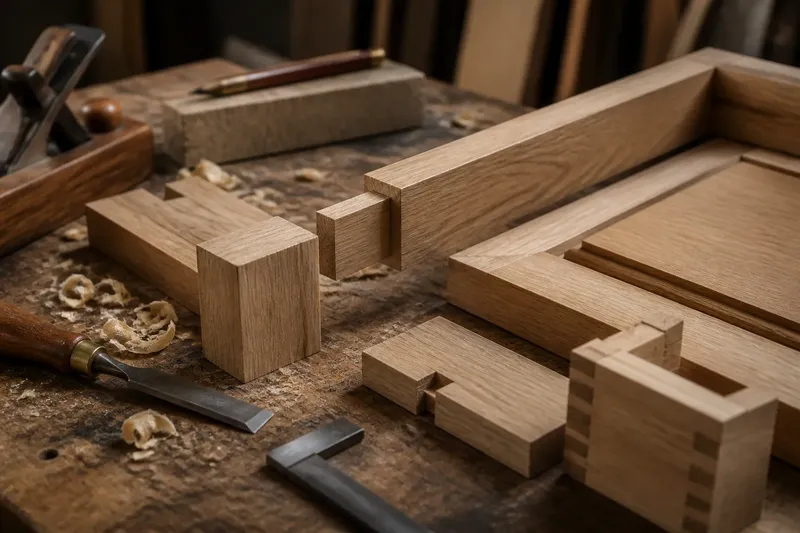
Marking Knife or Pencil for a Small Layout?
Choose a marking knife or pencil for a small woodworking layout by matching line visibility, cut direction, and correction needs to the task.
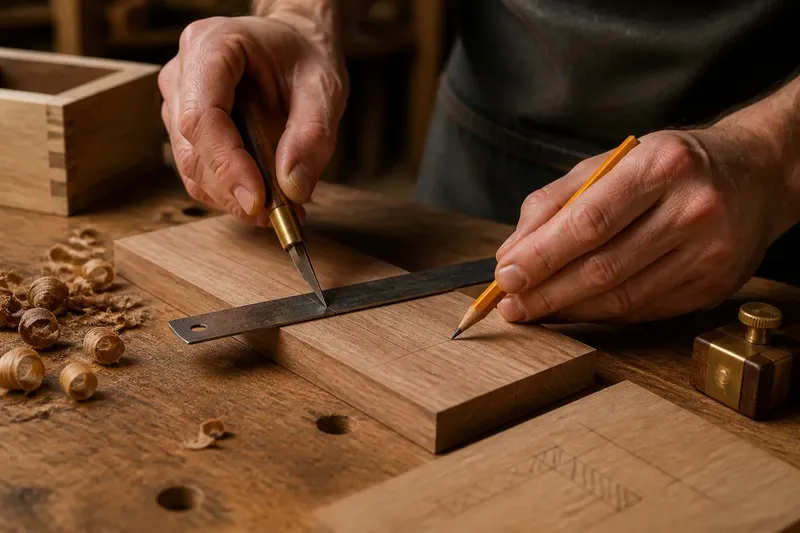
A marking knife or pencil can put a small woodworking layout off course before the saw or chisel touches the stock. The knife makes a fine, crisp line that can guide a cut; the pencil is easier to see, revise, and carry across a surface. Choose by asking what the mark must do next, not which tool seems more precise.
Choose for the next operation, not the finest line
A layout mark has a job. It might locate a hole, show where a part ends, guide a chisel, or define a shape to cut with a saw. The right tool depends on whether you need a visible boundary, a physical reference for a blade, or a mark you may need to change.
Use a sharp marking knife when a cut needs a definite starting edge and the grain or surface makes a pencil line too broad. Use a sharp pencil for general outlines, dimensions, and marks that may shift during fitting. For many small projects, the sensible answer is both: pencil for the plan, knife for the final cut reference.
Think of the knife line as a shallow groove in a piece of cardboard: a blade can register against it, but the groove is hard to see from across the bench. A pencil line is more like a colored boundary: easy to read, but not a physical stop for a cutting edge.
A pencil line disappears or spreads across the layout
What is happening: The pencil line may be too faint on dark or figured wood, or it may be broad enough that you cannot tell which side marks the intended edge. A dull point can leave a fuzzy stroke, while heavy pressure can dent soft stock and make an unwanted line difficult to erase.
What usually causes it: The pencil is poorly suited to the surface, the point is blunt, or the layout asks one line to do two jobs. A visible outline and an exact cut boundary are not always the same mark.
What to try, in order:
- Sharpen the pencil and make a light test mark on an offcut of the same wood. Check whether you can see its edge under the light where you will work.
- Use a straightedge for a long boundary and keep the pencil upright so the line does not wander with the bevel of the lead.
- If the line remains hard to interpret, use a darker pencil or a knife line for the critical edge. Do not press harder just to make a faint point visible.
- Erase the test mark and confirm that the surface cleans up as expected before marking the finished piece.
For a broad outline on a small box lid, a pencil is usually easier to follow than a knife. If the outline also marks a chisel boundary, make a separate knife line only at that boundary rather than scoring the whole shape.
A knife line catches the cut on the wrong side
What is happening: The saw or chisel follows the wrong edge of the score, leaving a part too small or a shoulder in the wrong place. A knife line is narrow, but it does not decide which side of the line is waste.
What usually causes it: The line was placed without a clear cut plan, or the layout was transferred from a reference face that was not identified. On a small part, even a fine mark can be ambiguous if the intended edge and waste side are not clear.
What to try, in order:
- Before marking, identify the face and edge the dimensions come from. Mark those reference surfaces consistently, for example with a small triangle on the face.
- Decide which side is waste, then place the knife line at the finished edge rather than centered on an estimated cut.
- Use a pencil to shade or label the waste area where that will make the plan easier to read. Keep the knife score only where a cutting edge needs to register.
- Make the cut on the waste side and leave the layout line intact until the fit or shape is checked.
If the line is already unclear, stop and re-establish the reference from the drawing or an untouched edge. Do not deepen the score by guessing; a deeper mistake is harder to remove cleanly.
The knife line tears fibers or becomes hard to see
What is happening: The score looks ragged, follows a wandering path, or vanishes in a dark surface. A knife can crush or tear fibers if it is dull, pushed too hard, or dragged across grain that lifts at the cut.
What usually causes it: The tool is being used as a tracing pencil rather than a controlled edge marker. A long, forceful stroke gives the blade more opportunity to follow the surface instead of the straightedge.
What to try, in order:
- Check the knife on scrap. It should make a clean, shallow score without requiring a forceful push.
- Hold a reliable straightedge firmly and draw the knife lightly along it. Make more than one controlled pass if needed instead of forcing a deep first stroke.
- On a curved outline, use a pencil to show the whole curve, then score only short sections where a chisel or other cutting edge needs a reference.
- If the score still tears, stop using the knife on that surface for the task. Mark the boundary with a sharp pencil and cut cautiously to the line.
A knife is not automatically the better choice on every wood species or surface. For a delicate veneer, thin edge, or finished face, test on scrap and consider whether a visible pencil mark is safer to remove than a score that may remain after the cut.
A transferred measurement shifts between parts
What is happening: Matching marks on two small pieces do not line up, even though the same measurement was intended. Repeatedly reading a ruler and drawing each mark separately can introduce small placement differences.
What usually causes it: The layout relies on separate measurements instead of transferring a position from a shared reference. Tool choice matters less than keeping the reference face, edge, and measuring method consistent.
What to try, in order:
- Choose one reference face and edge for each part, and mark them before laying out details.
- Use a combination square or marking gauge to carry a repeated distance from that reference. A pencil is convenient for visible locations; a knife is useful where the resulting line will guide a cut.
- Transfer a shared location directly from one part to its mate when the design calls for matching positions, rather than measuring each one independently.
- Bring the parts together and check the marks before cutting or drilling. Correct the layout while the stock is still intact.
Say you are laying out two small side pieces for a keepsake box and want their hinge positions to match. Mark the reference edge on both pieces, set a square to the chosen location, and transfer the marks from the same setup; the expected result is two clearly aligned positions that can be checked together before any holes are made.
Which mark suits a small woodworking layout?
Should I use a marking knife for a saw cut?
Use a knife when a crisp boundary will help you start or register the cut, and the surface can take a shallow score. Keep the cut on the waste side so the finished edge remains at the intended line.
Is a pencil accurate enough for small woodworking?
A sharp pencil can be accurate enough for outlines, dimensions, and locations that do not require a blade to register in a groove. If the line’s width makes the finished edge unclear, switch to a knife at that edge or make a deliberate reference mark.
Can I use both tools on one piece?
Yes. Use pencil for the readable plan and knife for selected cut boundaries, keeping each mark’s purpose distinct. This is especially useful when a shape has both a broad outline and a precise shoulder.
What should I use on dark wood?
Start with a pencil that makes a visible line on an offcut, then check whether the line can be removed without harming the surface. A knife may be more legible as a fine score, but it can also create a lasting mark that is difficult to see until the light changes.
Make the choice at the bench
For a small layout, choose a pencil when you need visibility, a flexible outline, or room to revise. Choose a marking knife when a cutting edge needs a crisp reference and the score will land on a suitable surface. If both needs apply, mark broadly with pencil, then add a knife line only at the critical boundary.
Before committing, mark an offcut, check the line from your working position, and confirm which side is waste. That brief pause makes the mark easier to read and the next operation easier to control. A marking knife or pencil is useful only when you can tell exactly what the line means.